These sheds are designed to be DIY projects, however we also offer a full install service at fixed prices should you prefer someone else to do this for you. Typically a shed of this size would take one of the installers we use *one day*. See shed options for pricing.
DIY Construction & Assembly
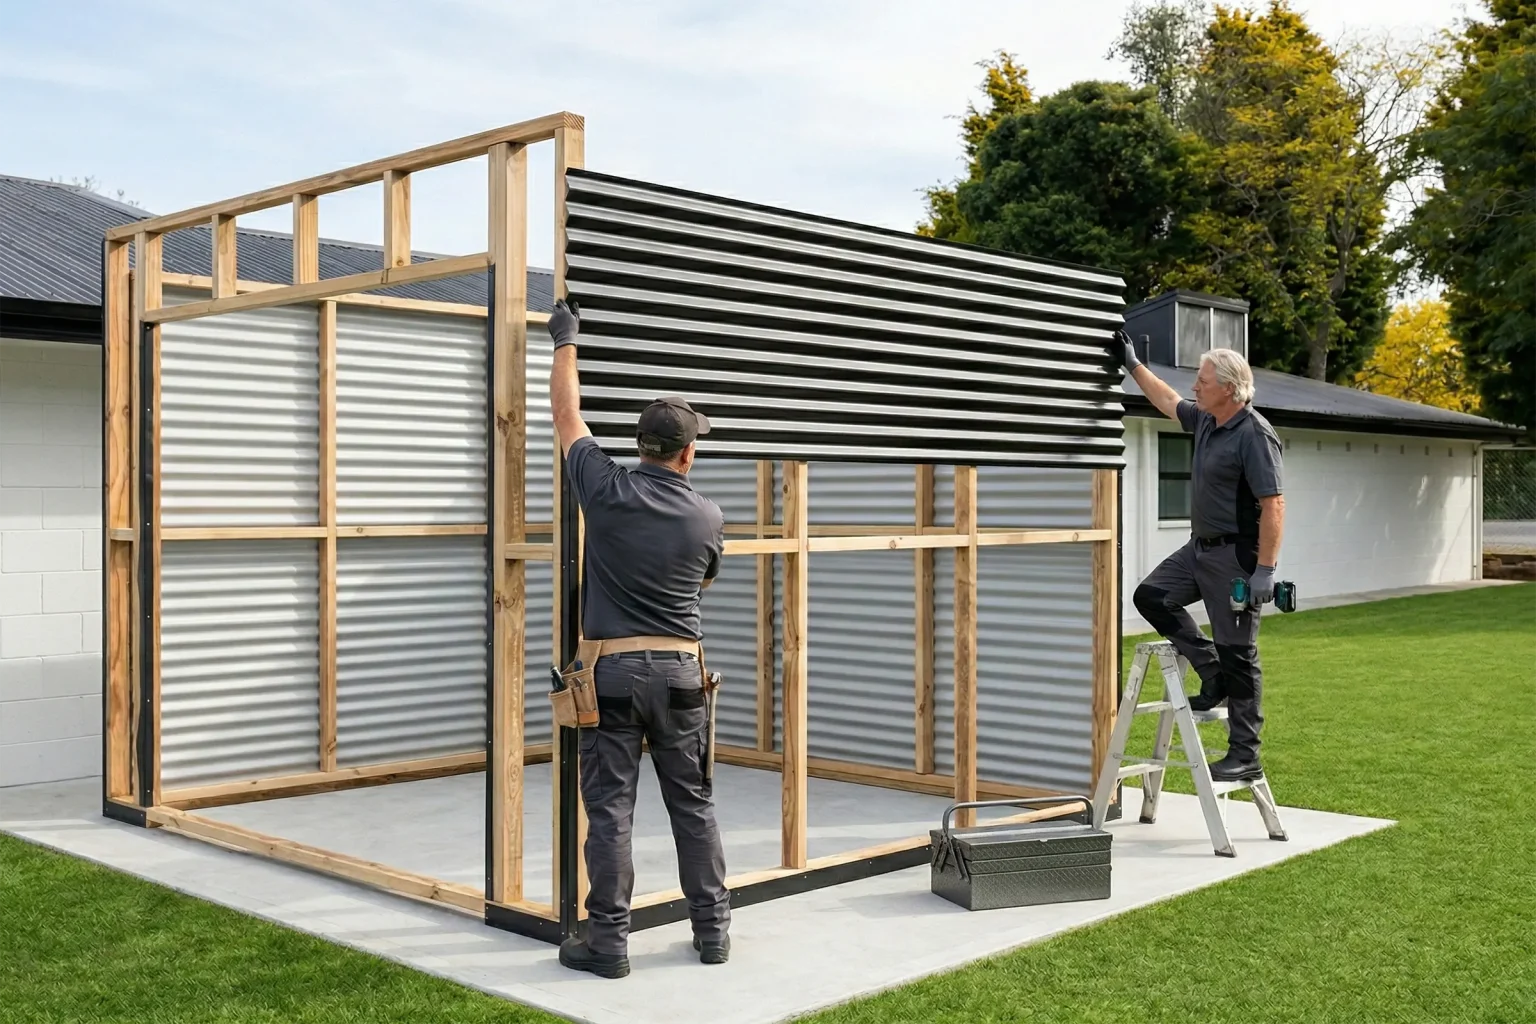
Assembly is straightforward for someone with good DIY skills. The modular panel design, treated framing, and precut floor components make the build process more efficient, while still resulting in a robust, long-lasting structure.
DIY Difficulty Rating
- Intermediate DIY project.
- Allow approximately one day for installation for a competent DIYer.
Construction Overview
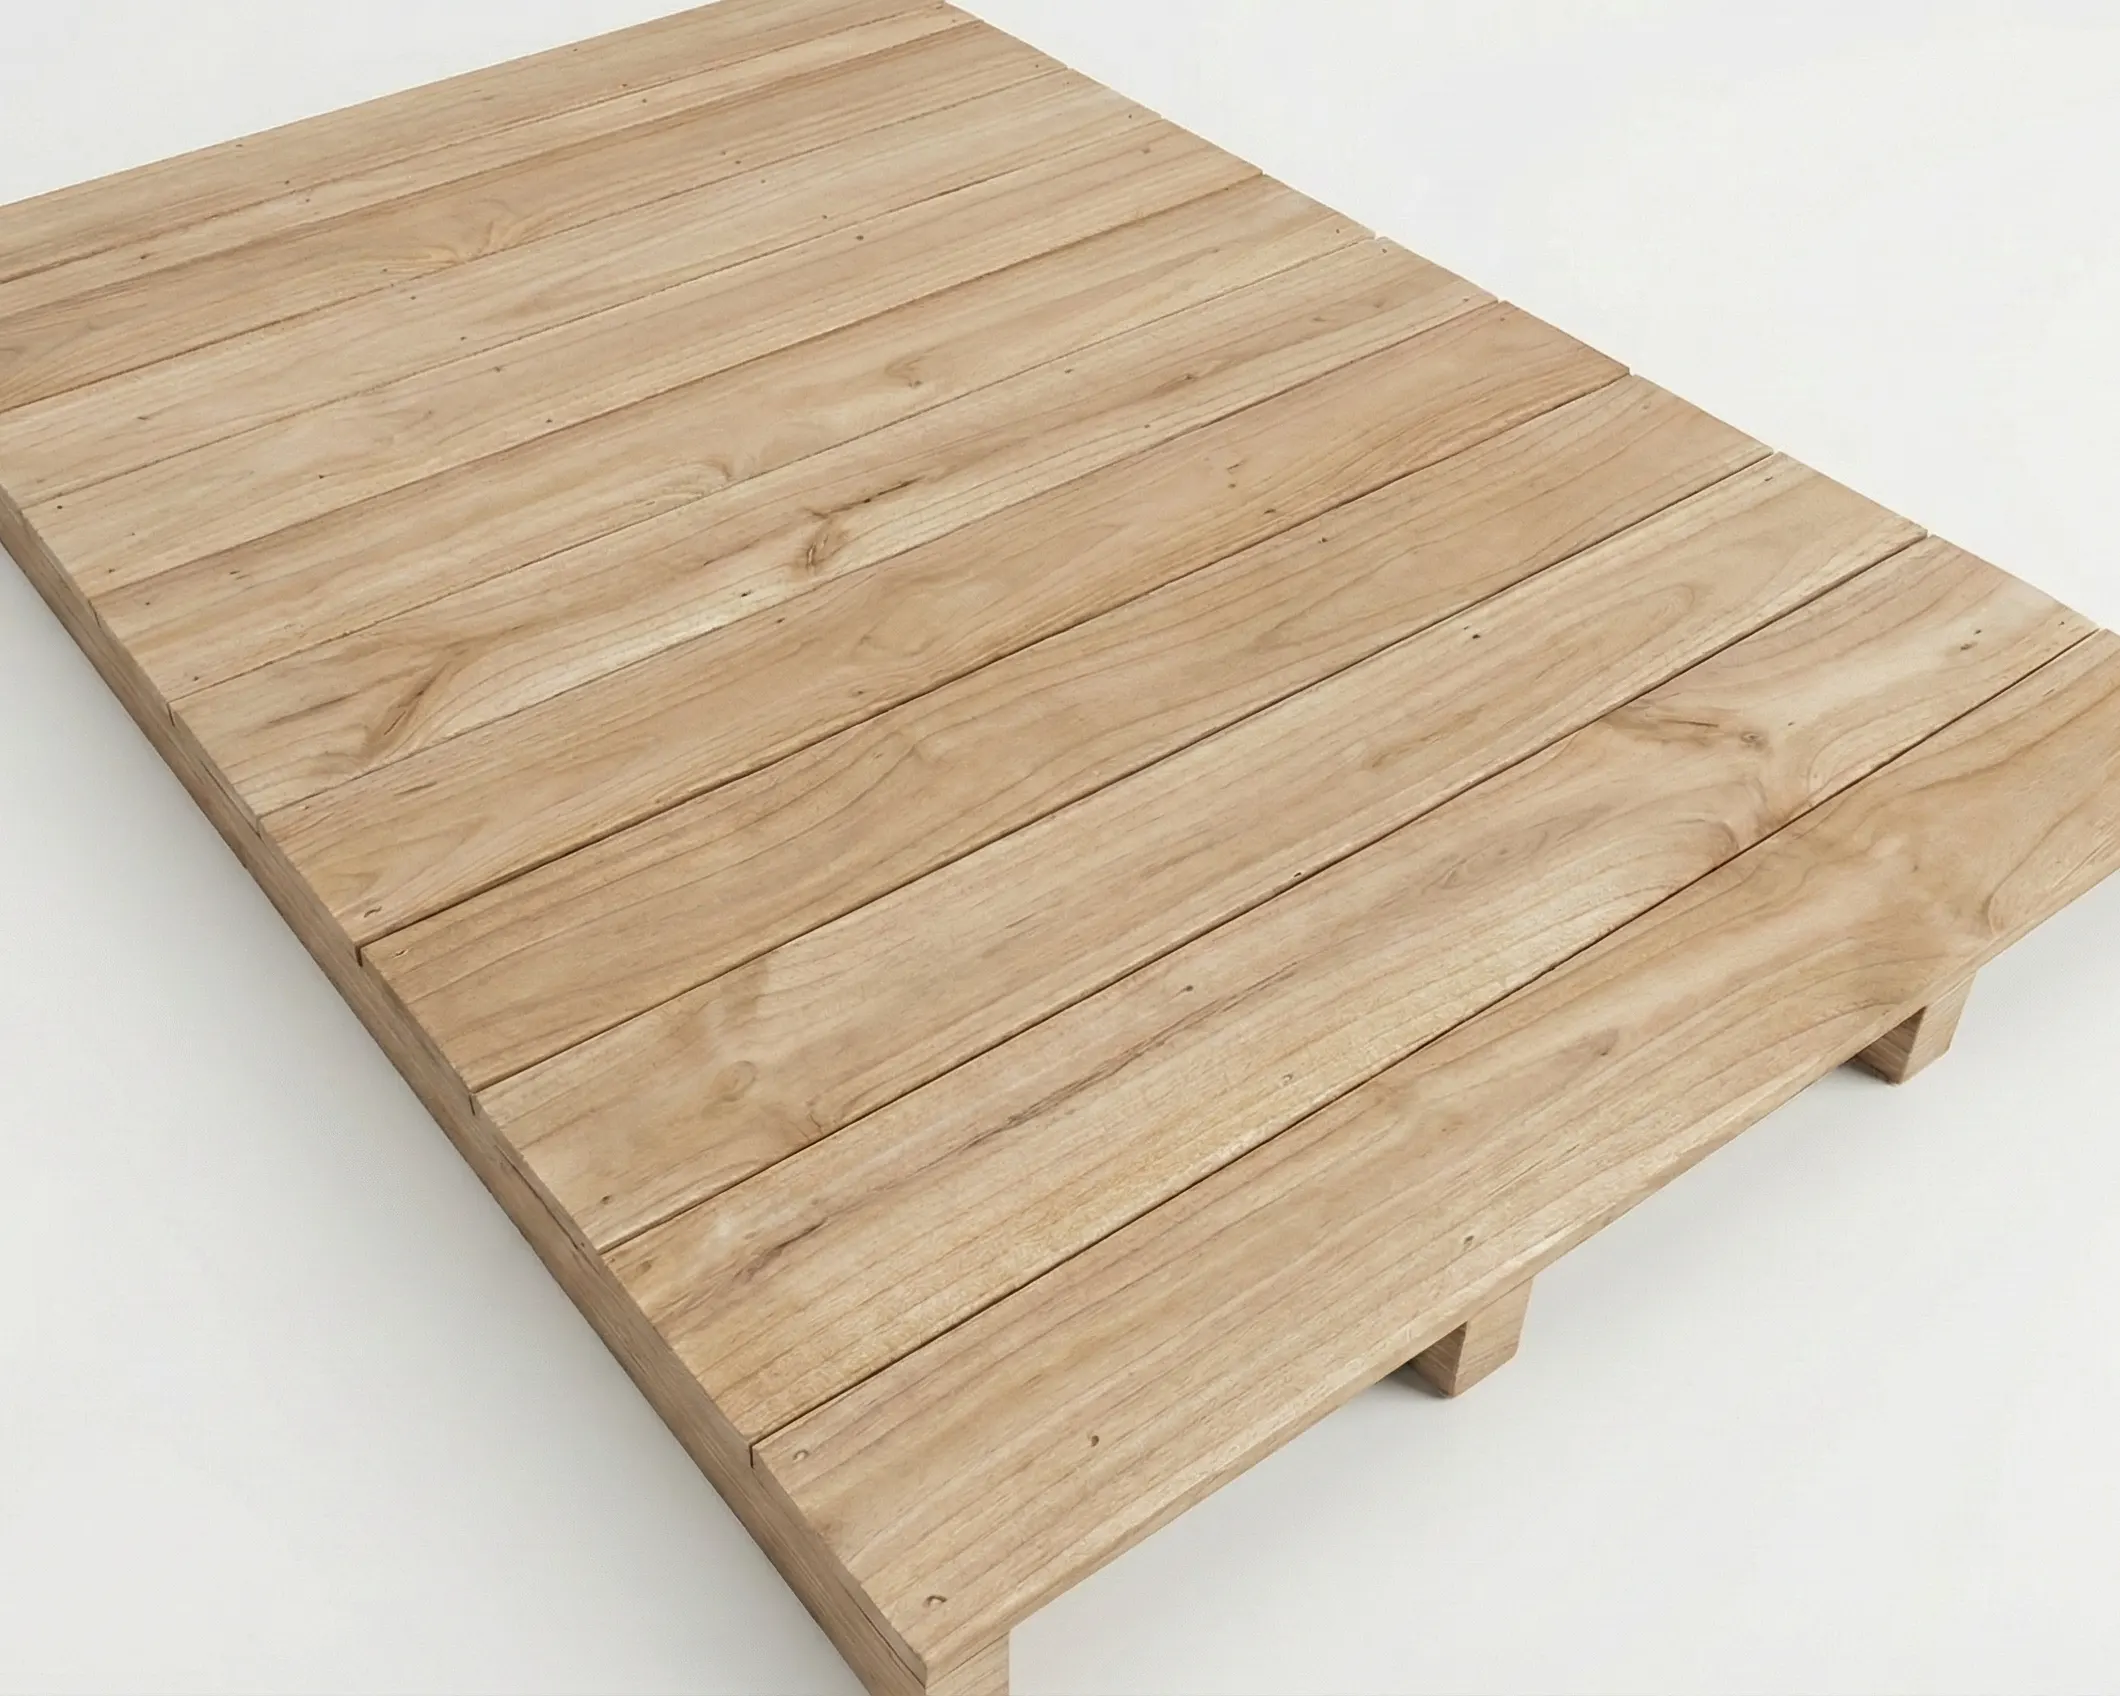
- Precut runners and floorboards nail together to form the floor kit.
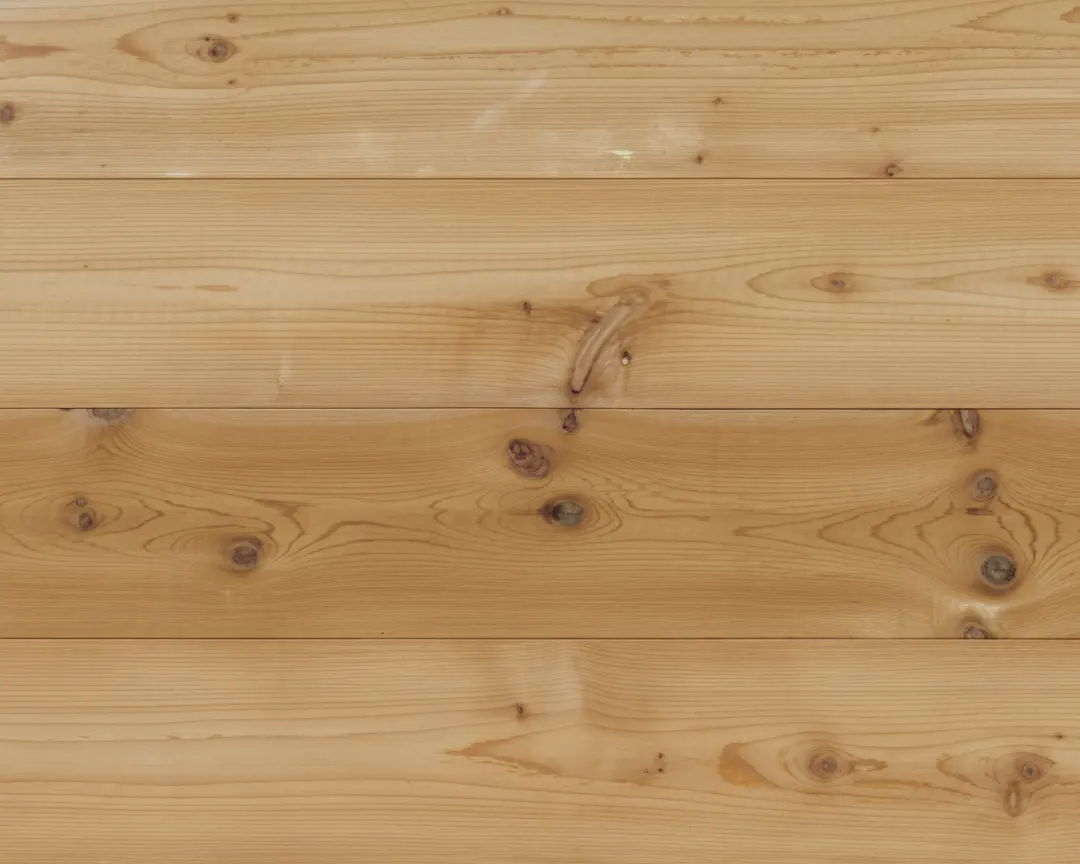
- Modular wall panels with treated framing and cedar weatherboards are joined using silicone and bolts.
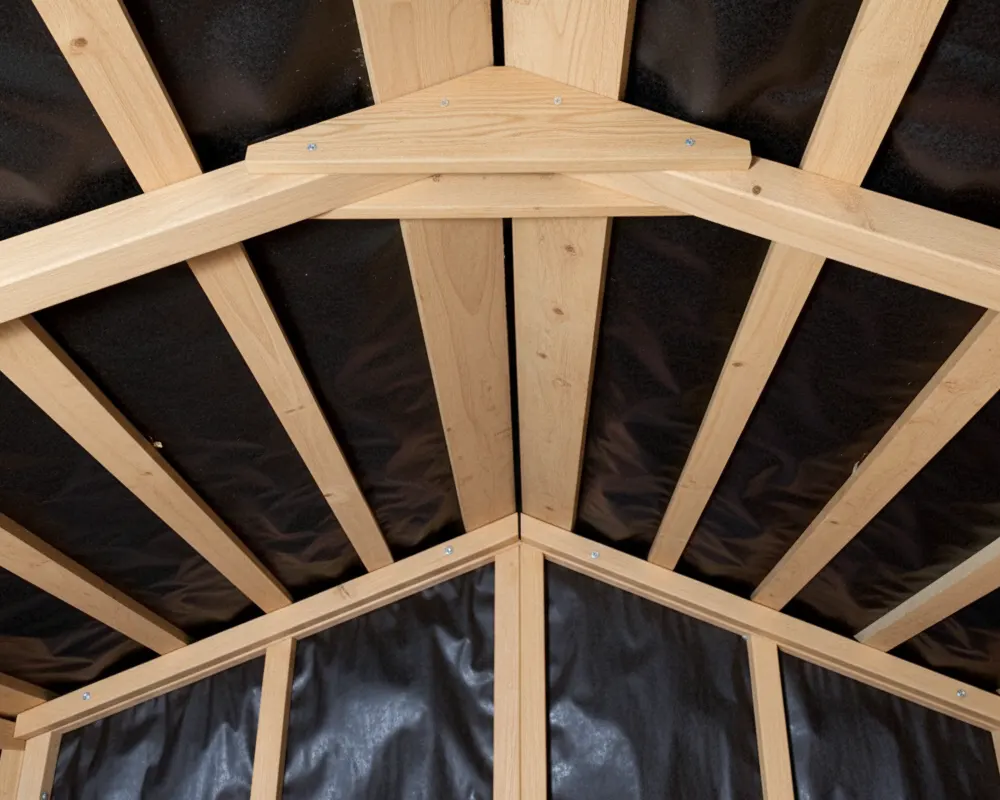
- Back wall sheets are nailed to the frame.
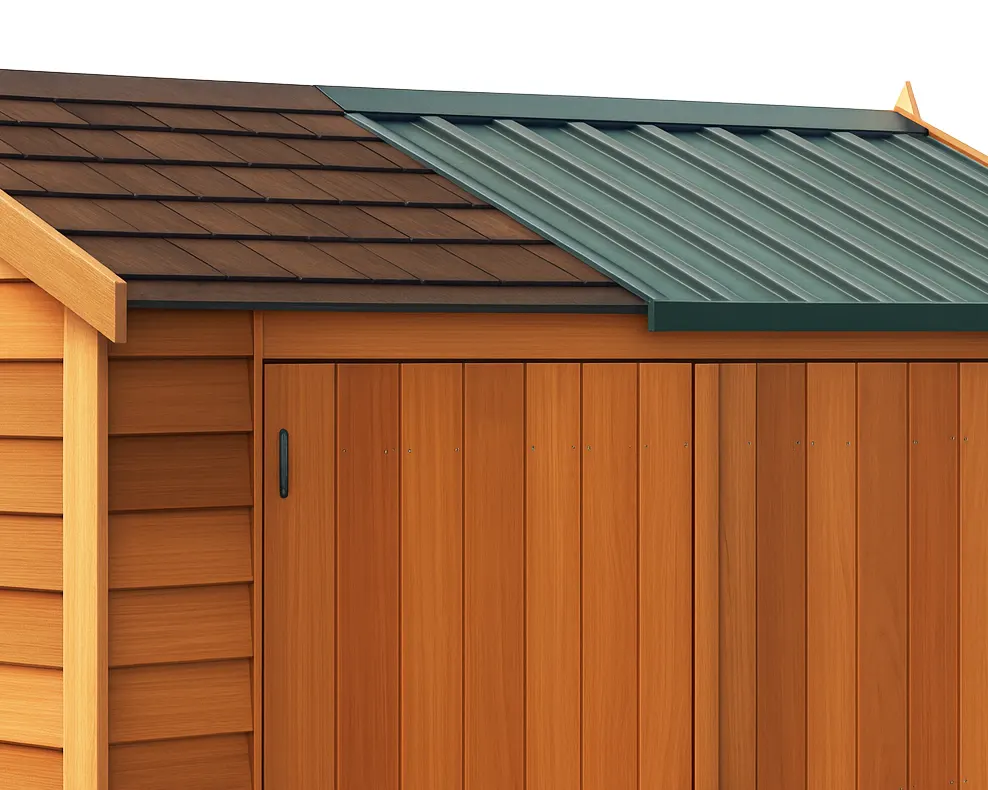
- Roof sheets and flashings are screwed to the shed (or a premade shingle roof, if applicable).
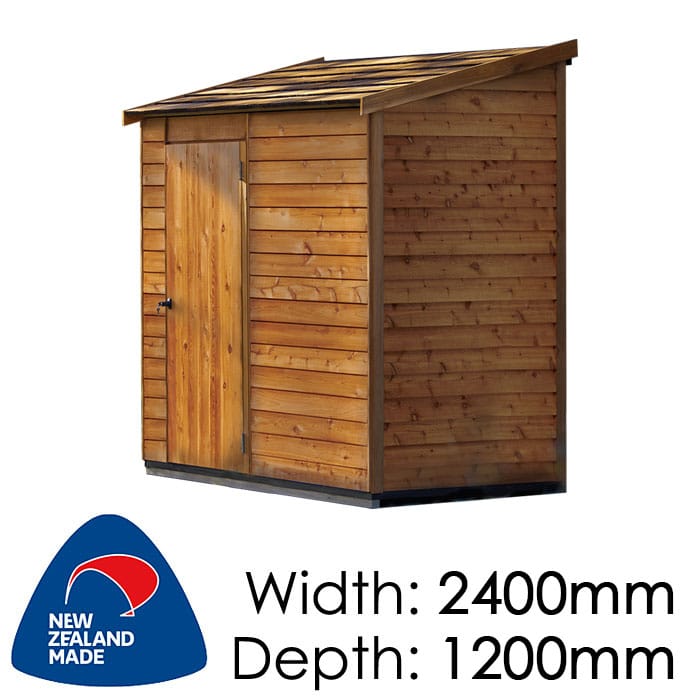
- Door is hung and hardware fitted to complete the build.
Tools Required
- Power drill
- Drill bits 3.2mm
- Hex drive 3/8
- Riveter
- Hammer
- Flathead screwdriver
- Nail punch
- Tape measure
- Ladder or saw stool
- Level
- Caulking gun
- String line / length of string
- Skillsaw or jigsaw / multitool (for floor only)
- Masonry drill and 10mm masonry bit (for Bolt Down Kit only)
Instruction Manual
For detailed, step-by-step instructions, please refer to the latest installation manual here:
View Installation Instructions (PDF)