Construction & DIY Information
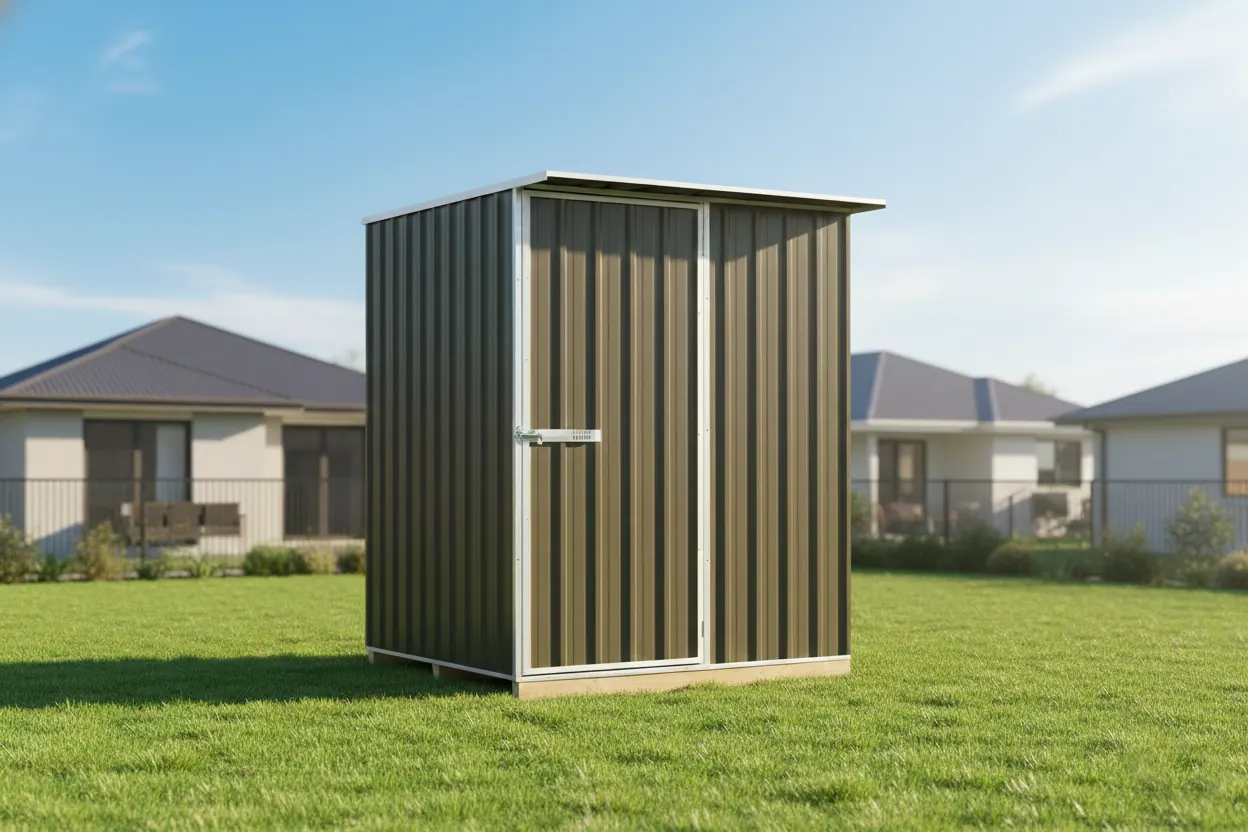
These sheds are designed to be DIY projects, however we also offer a full install service at fixed prices should you prefer someone else to do this for you. Typically a shed of this size would take one of the installers we use one day. See shed options for pricing.
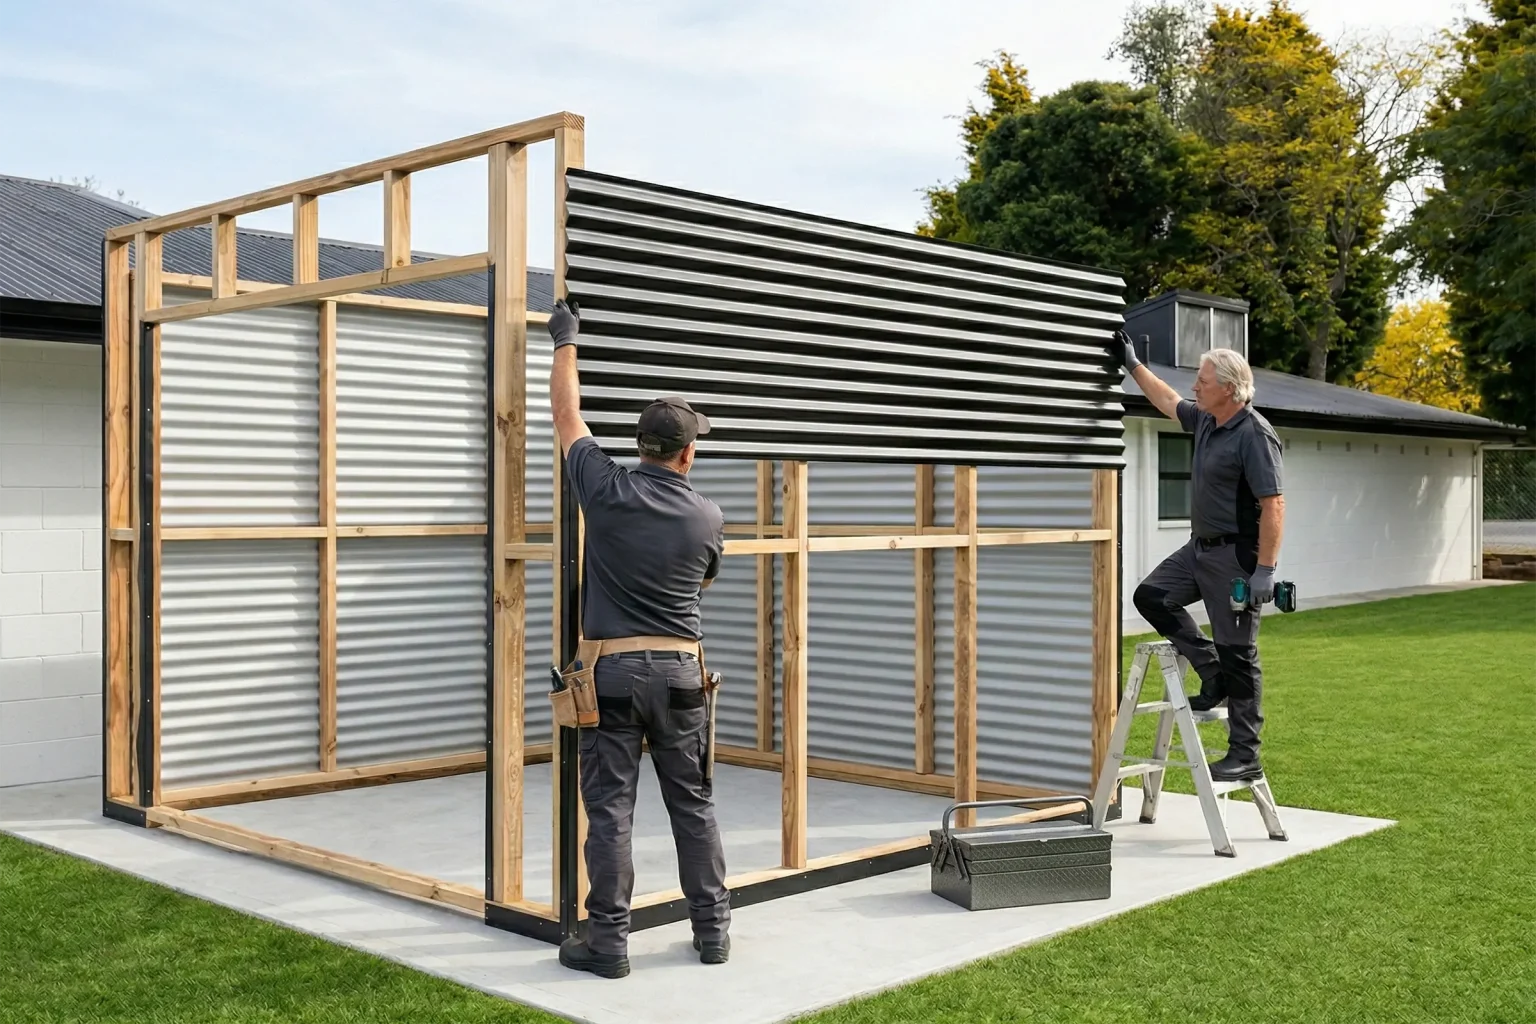
DIY Difficulty Rating: Suitable for a competent DIYer; recommended as a 1–2 person job, allow around half a day for installation.
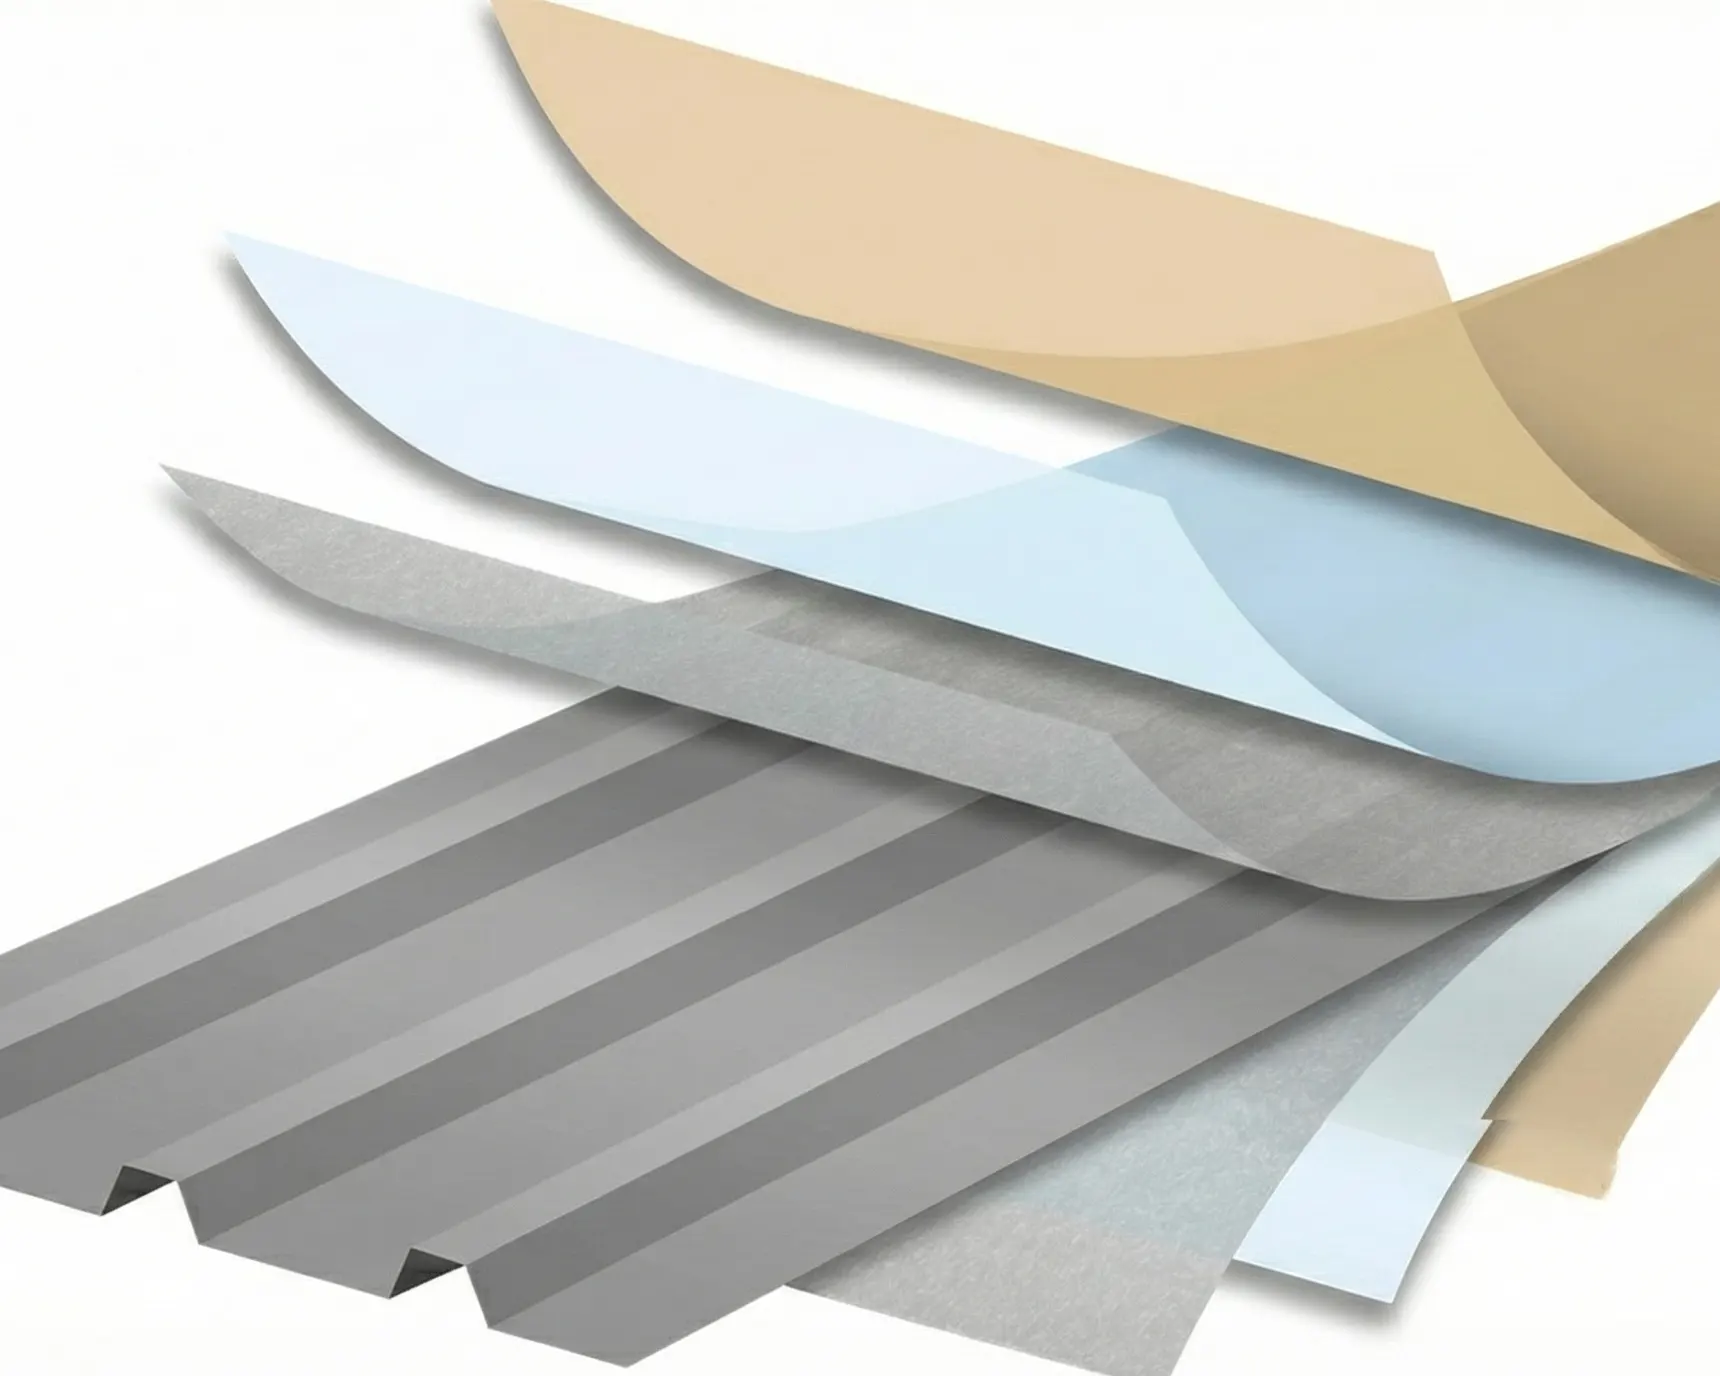
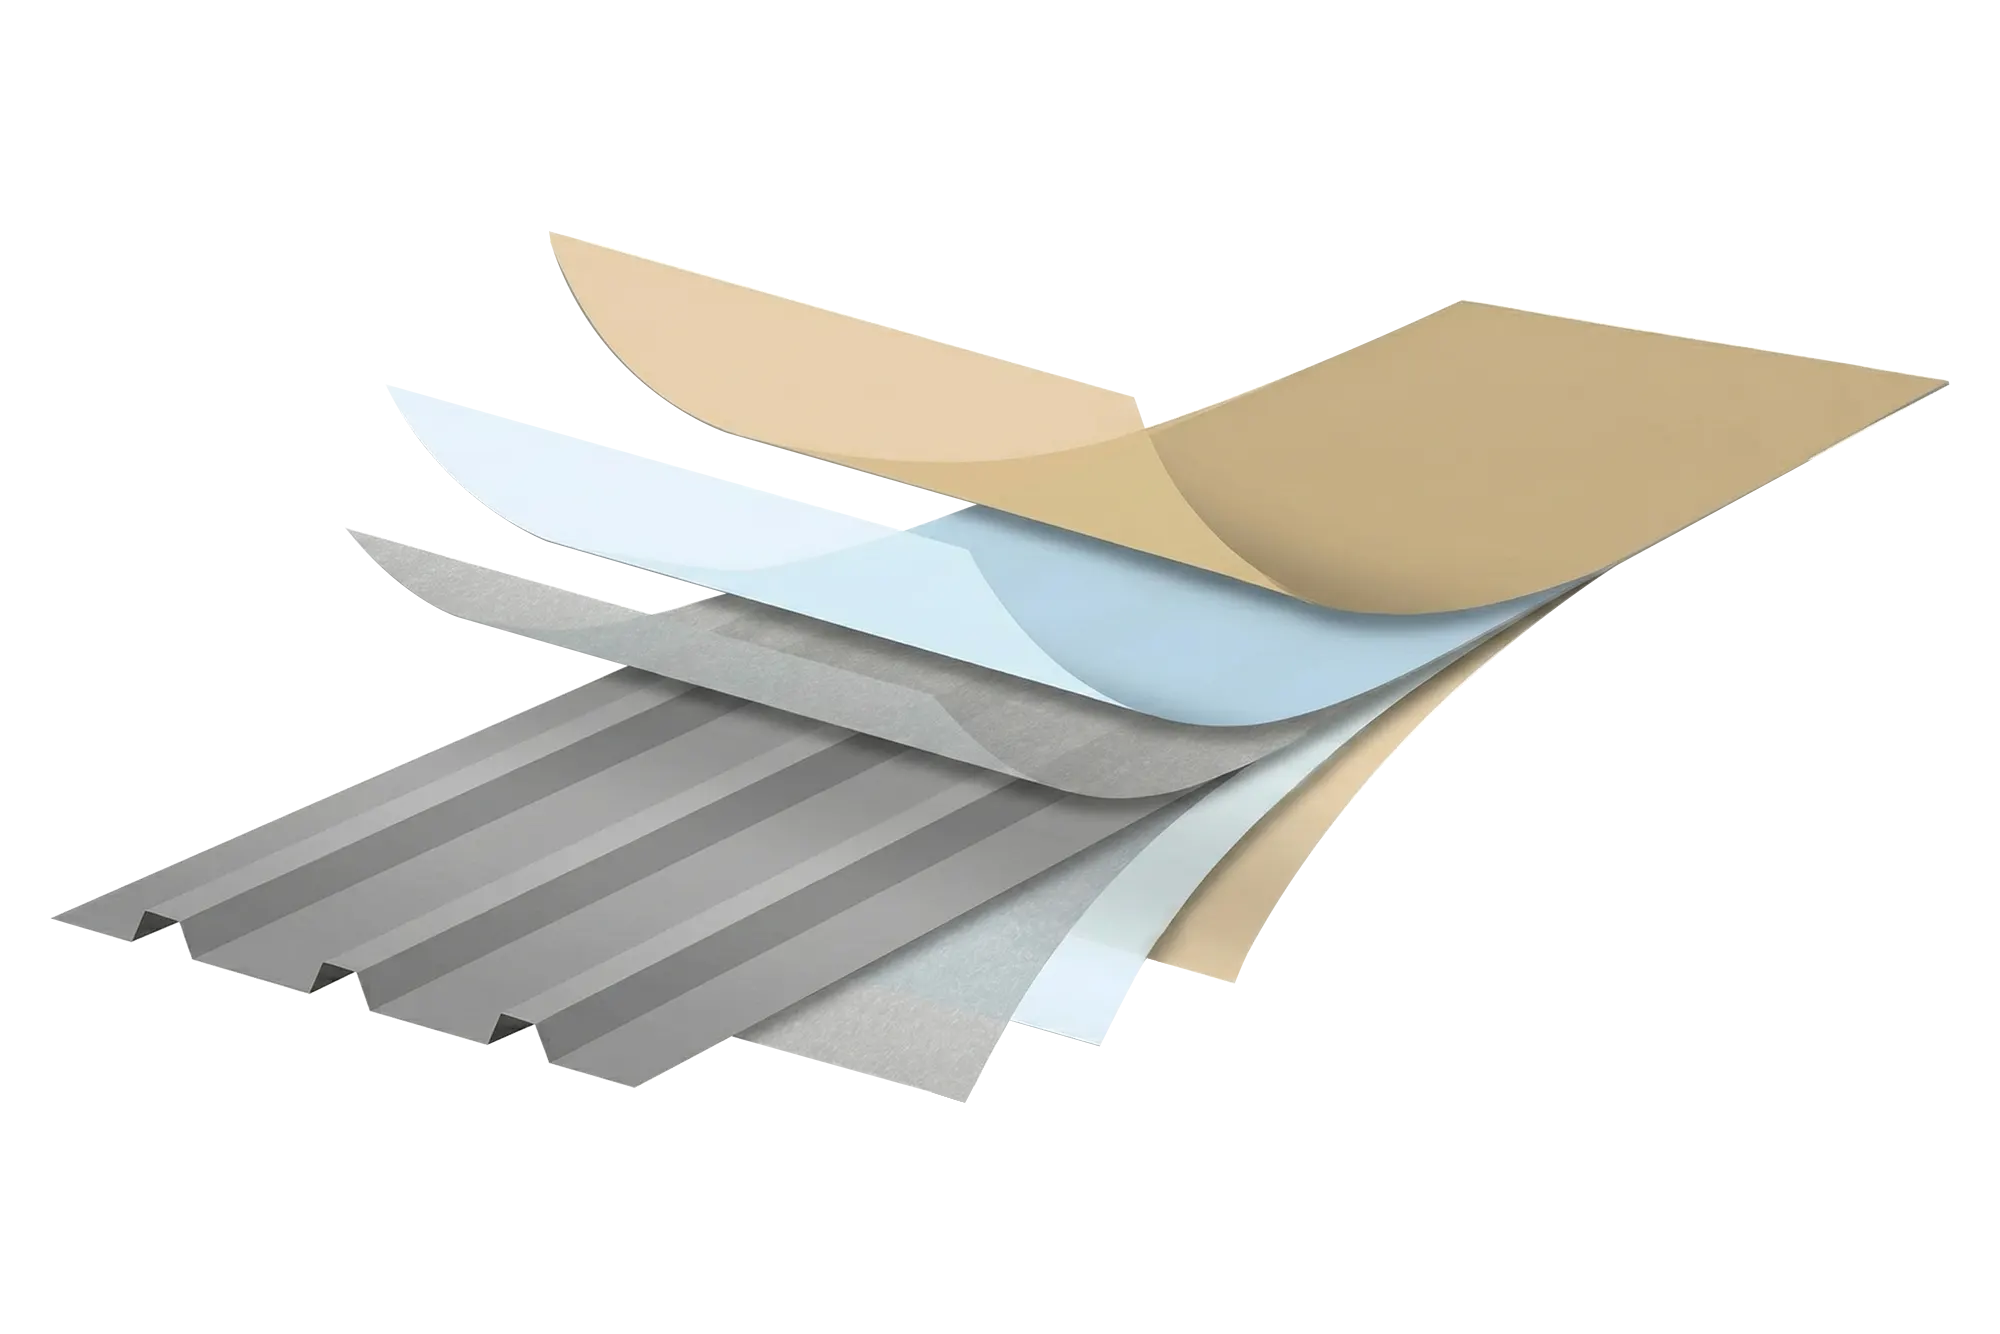
The shed is assembled from steel sheets and channels. Wall sheets are joined with rivets, and the top and bottom channels are drilled and riveted. Once the wall and roof panels are prepared, the walls are stood up, drilled, and riveted together, and the roof panels are installed in the same manner. Flashings are then drilled and riveted into place. Finally, the door is assembled and fixed using the supplied hinges.
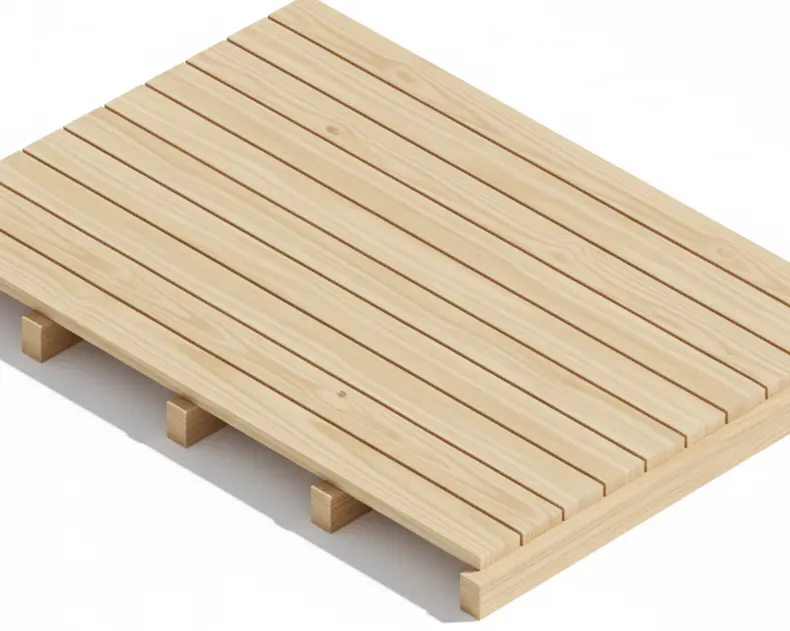
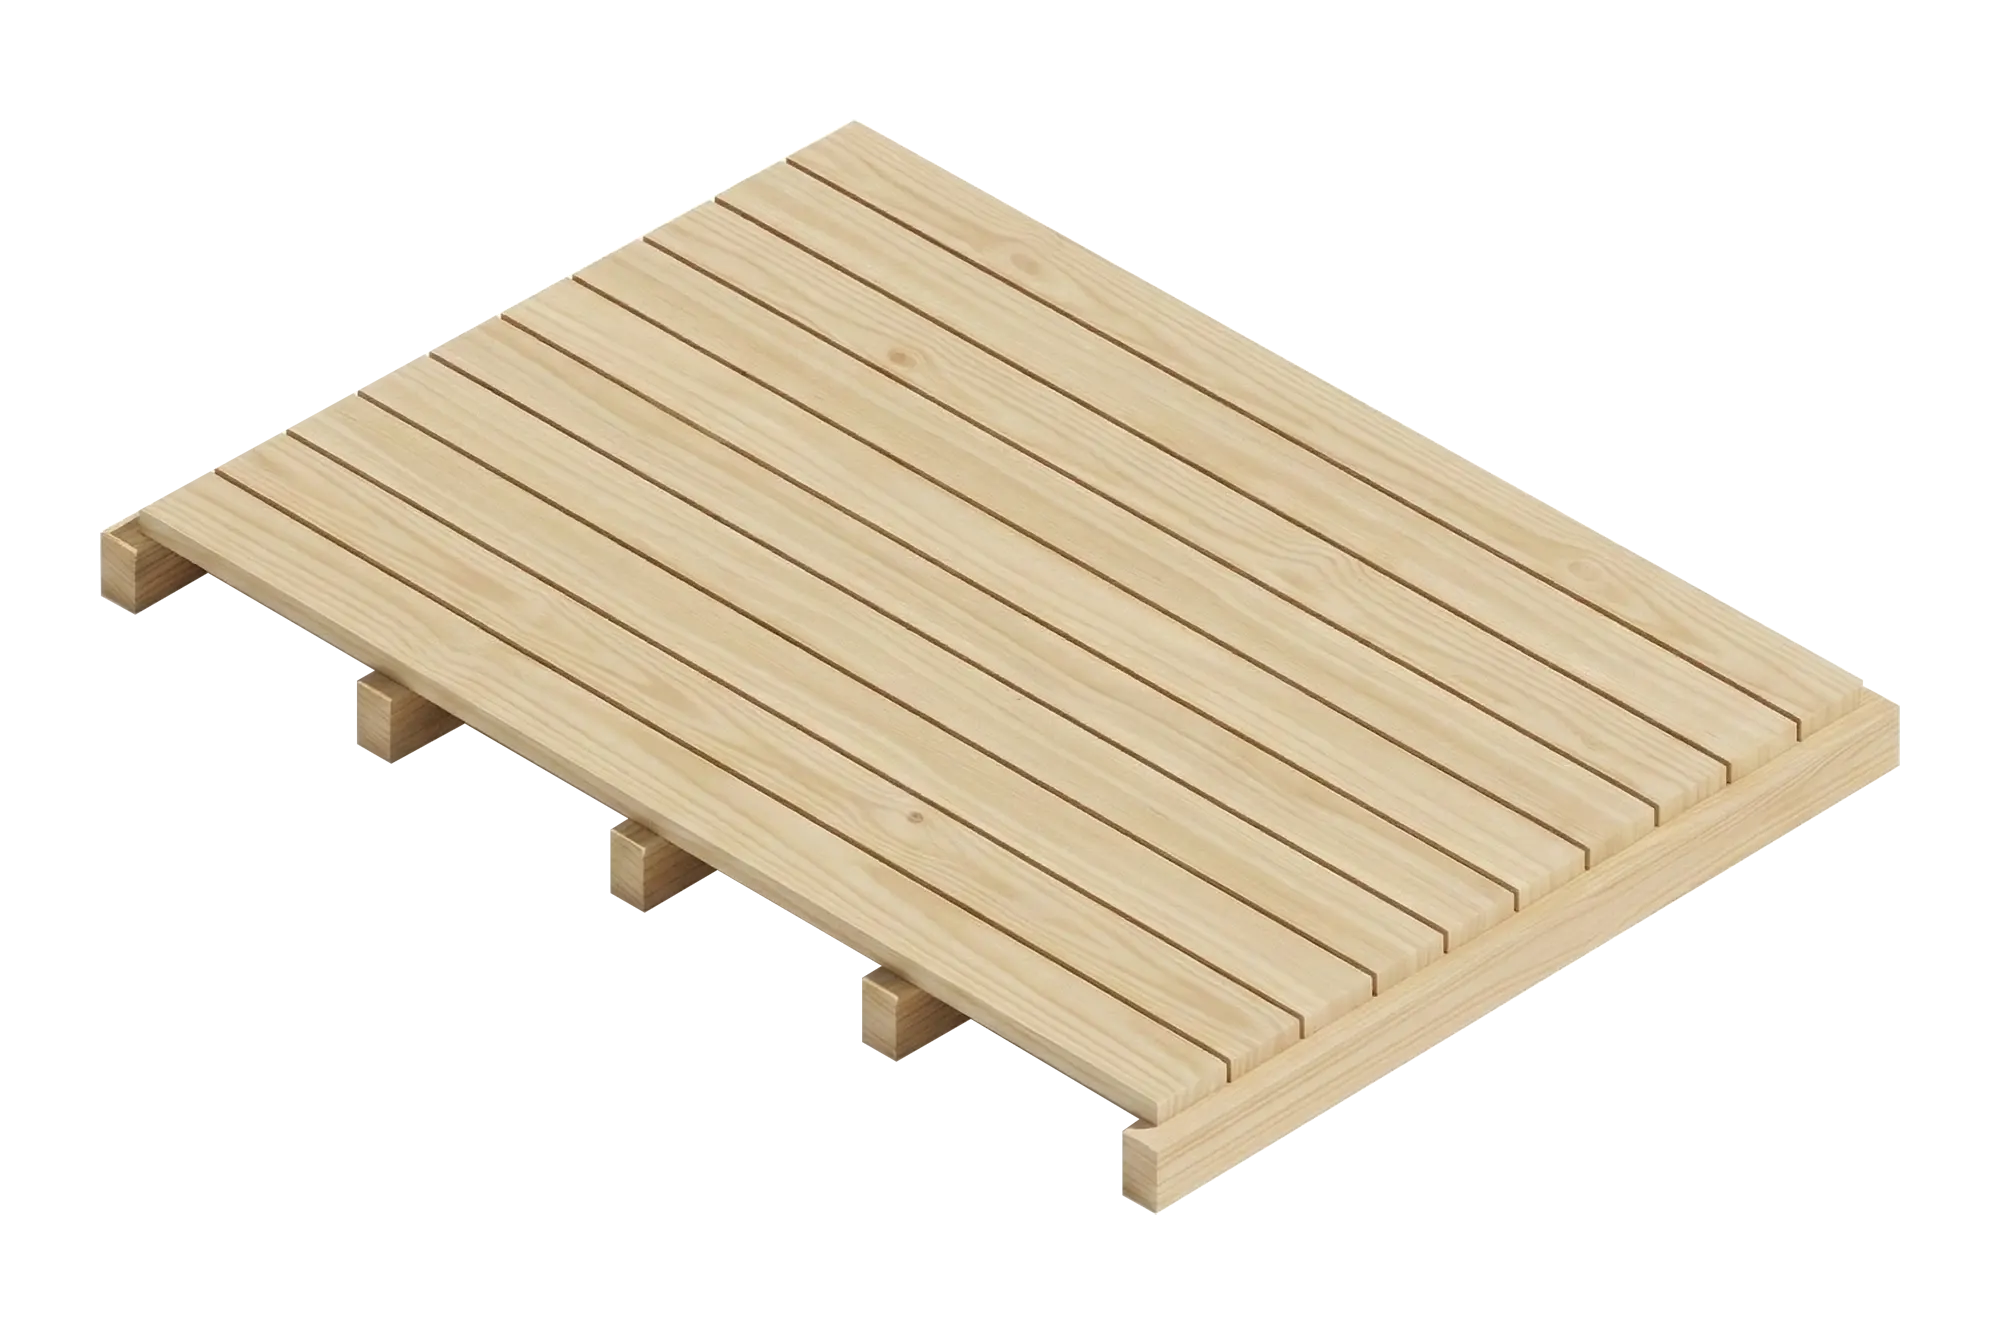
If you choose the optional floor kit, the precut runners and floorboards are simply nailed together with a hammer. When using a kitset floor, it should be assembled before you start erecting the shed.
Required Tools
- Power drill
- 3.3mm drill bits
- Riveter
- Hammer (for floor kit)
- Tape measure
- Ladder or saw stool
- Non‑slip gloves
- Eye protection
- Saw horses
Assembly Instructions: Latest instructions link not supplied. Please refer to the retailer or manufacturer for the most up‑to‑date manual.