These sheds are designed to be DIY projects, however we also offer a full install service at fixed prices should you prefer someone else to do this for you. Typically a shed of this size would take one of the installers we use *one day*. See shed options for pricing.
DIY Build & Installation
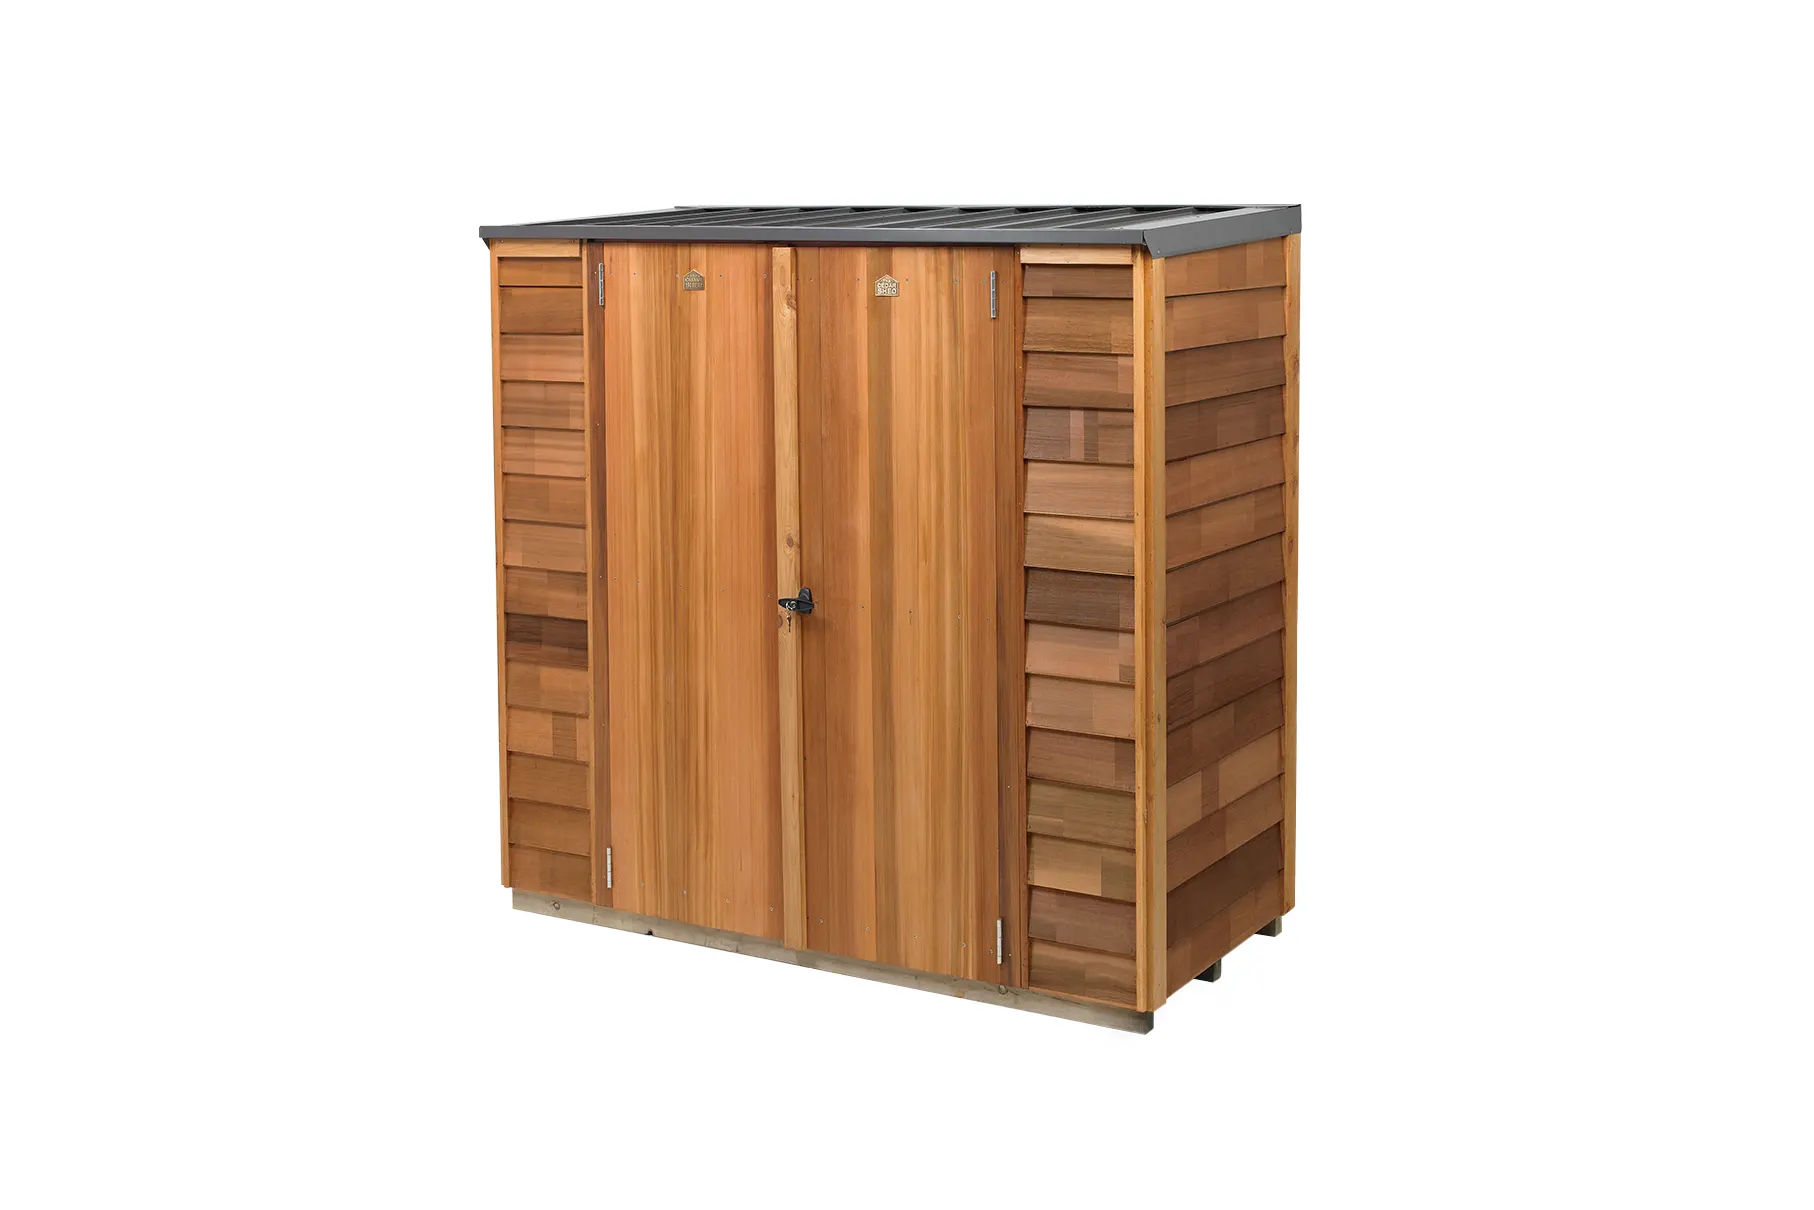
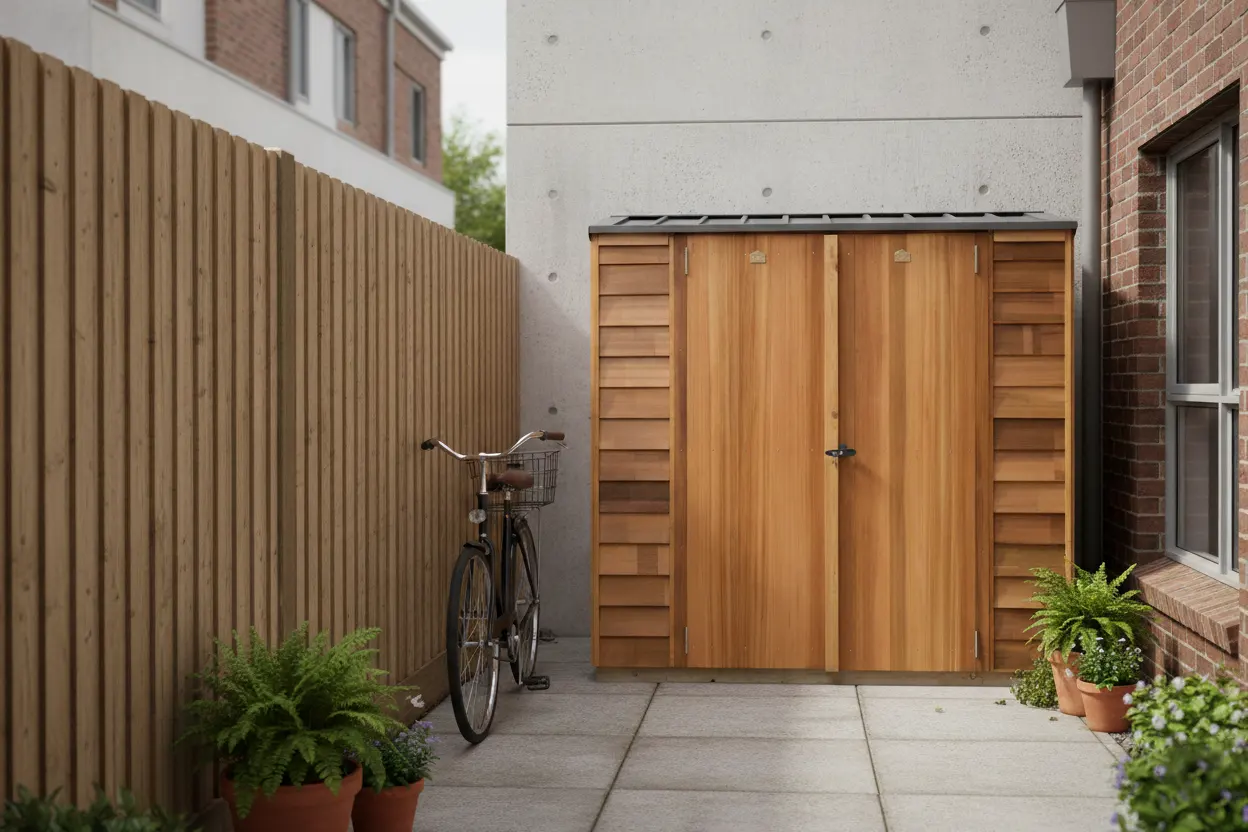
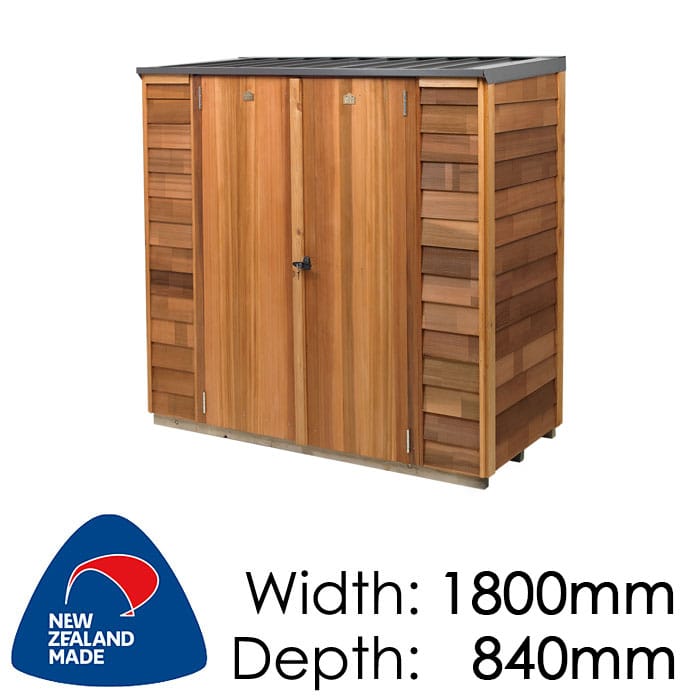
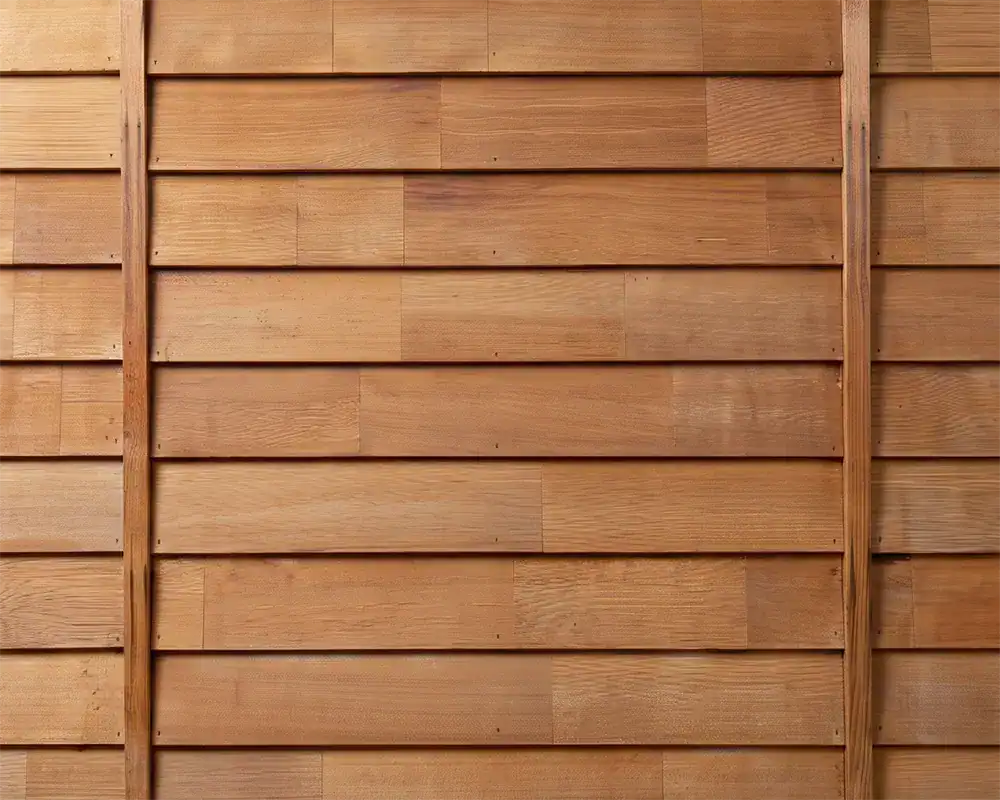
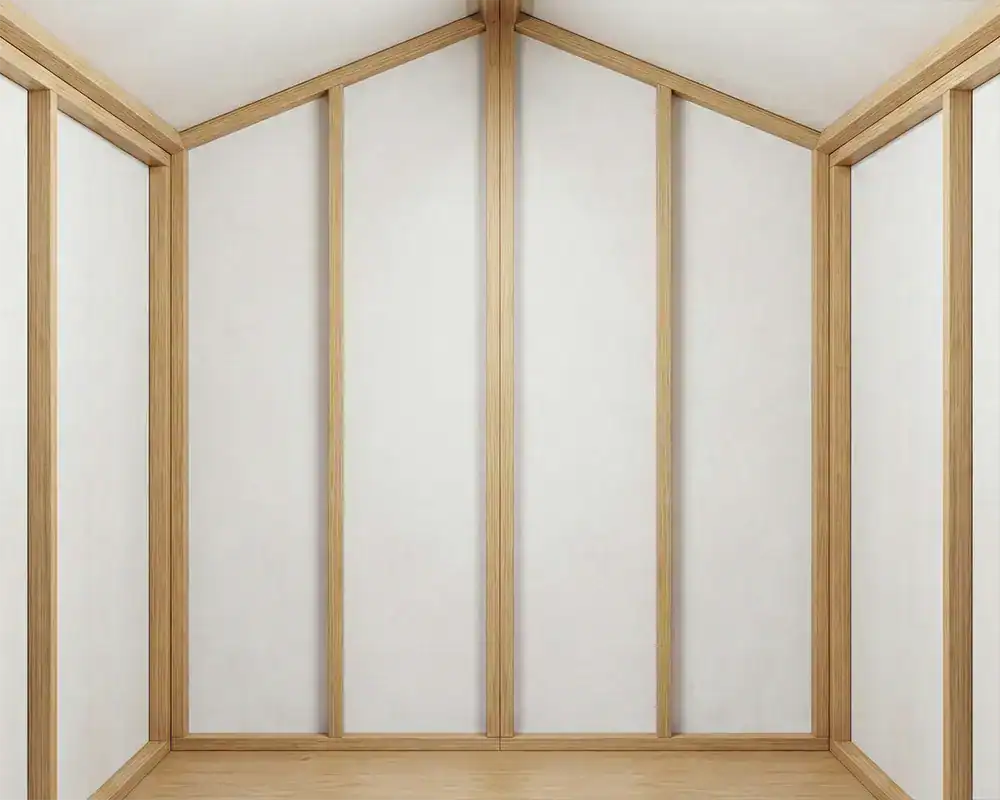
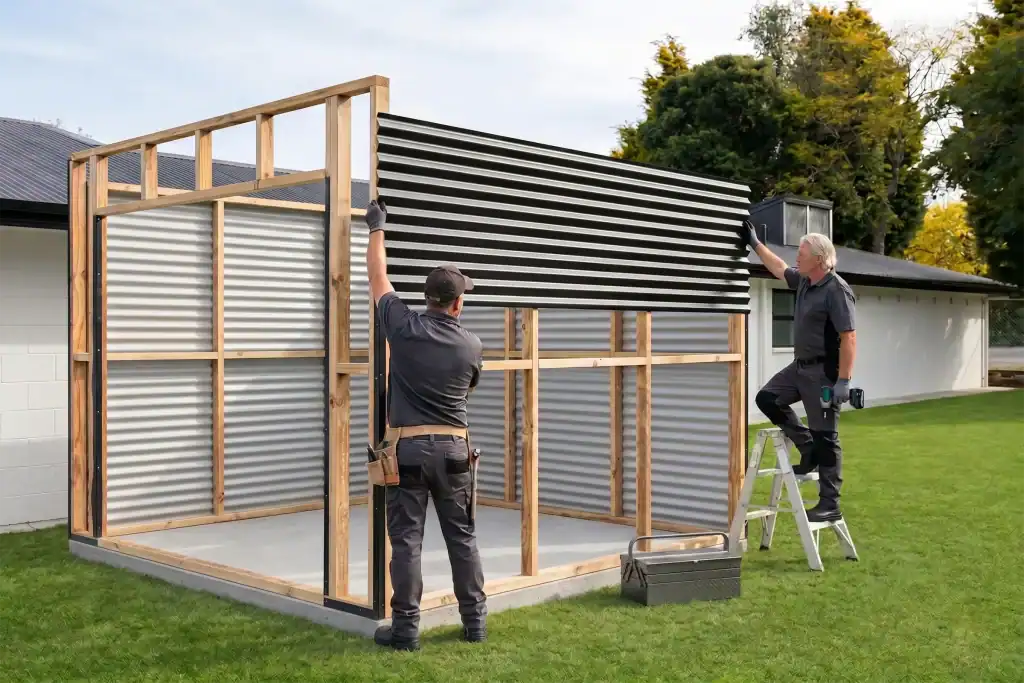
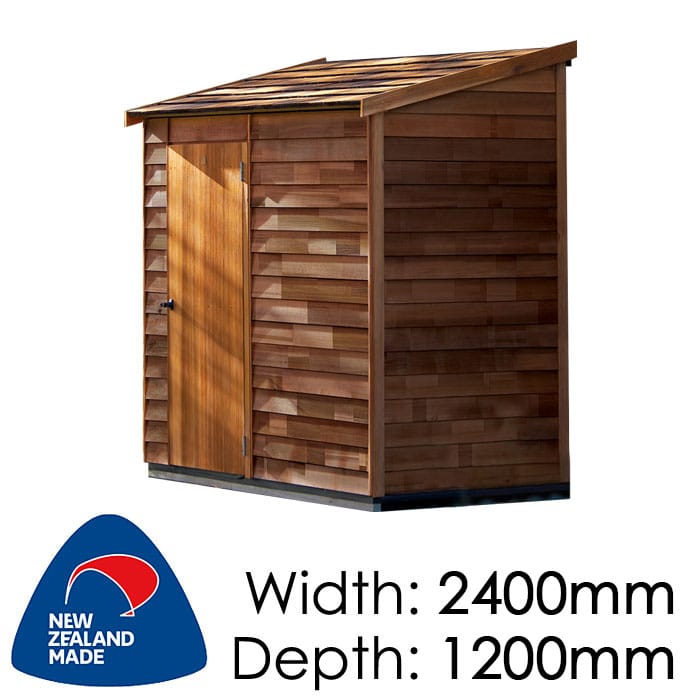
This shed is designed with a modular panel system and solid treated framing clad with cedar weatherboards, making it a practical project for confident DIYers.
- Straightforward installation for someone with good DIY skills
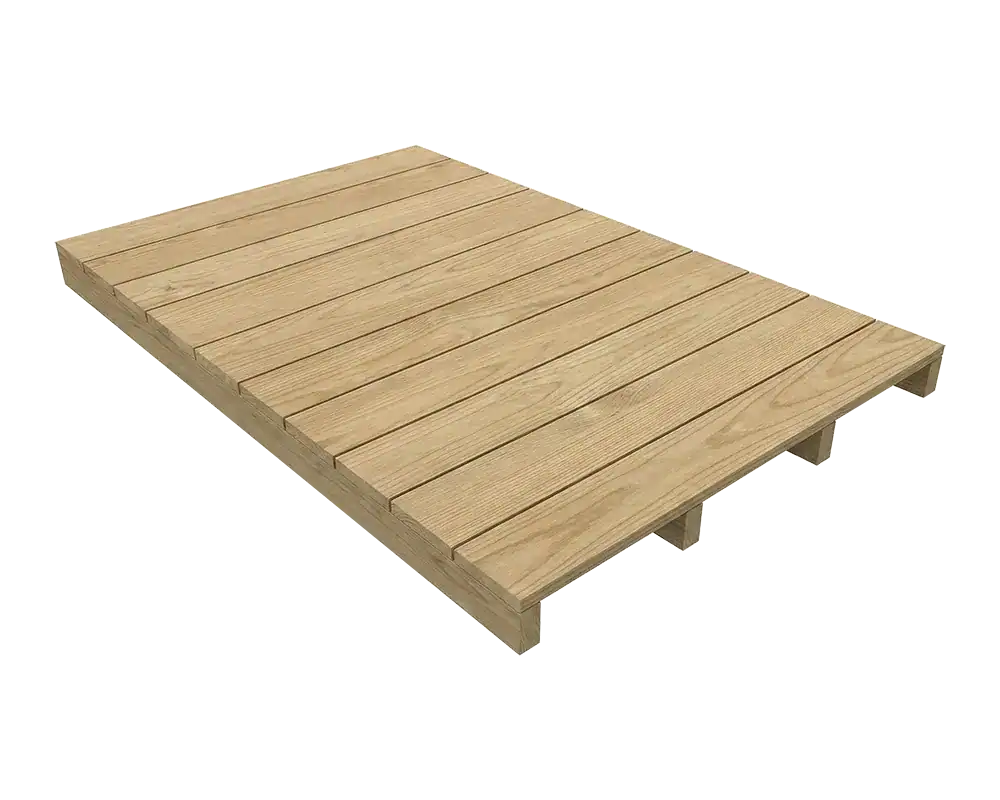
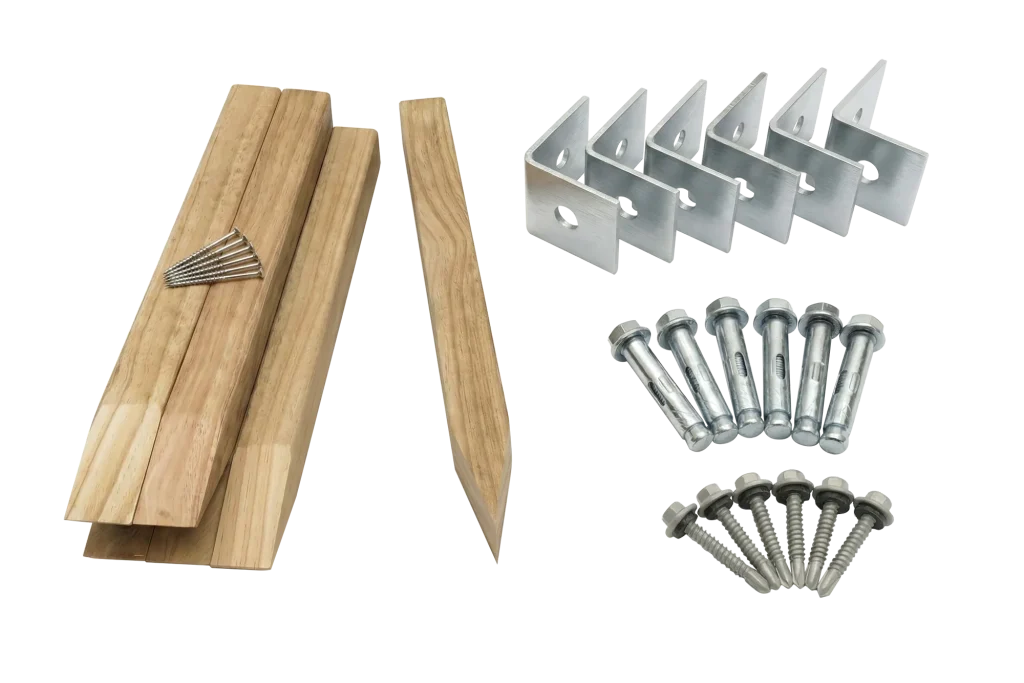
- Precut floor kit with runners and floorboards that can be nailed together with a hammer
- Join pre-made panels together with silicon and bolts, then silicon and nail the beads
- Nail the back wall sheets to the frame
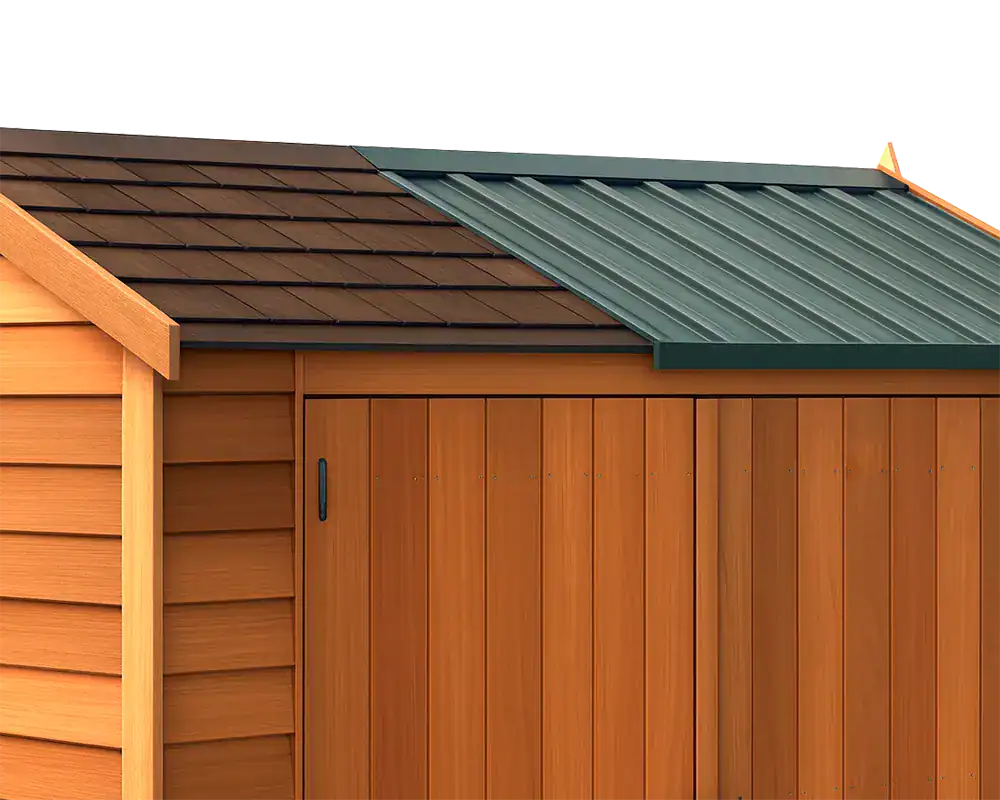
- Screw roof sheets and flashings to the shed or fit a premade shingle roof
- Hang the door to finish the build
- Allow around a day for installation for a competent DIYer
DIY Difficulty Rating
- Suitable for competent DIYers; a full-day project, ideally treated as at least a solid single-day job. A second pair of hands will make handling panels and roof sections easier.
Tools Required
- Power drill
- Drill bits 3.2mm
- Hex drive 3/8
- Riveter
- Hammer
- Flathead screwdriver
- Nail punch
- Tape measure
- Ladder or saw stool
- Level
- Caulking gun
- String line or length of string
- Skillsaw or jigsaw / multitool (for floor only)
- Masonry drill and 10mm masonry bit (for bolt down kit only)
Instructions
For the latest assembly instructions, please refer to the manufacturer’s current manual or installation guide.
View Installation Instructions (PDF)