Download a printable shed measuring guide or save it to your phone or laptop.

Our sheds come as a kitset with well-written instructions. Most of our customers put their sheds together themselves. Most sheds can be assembled by one person in a day. It's always easier with two, so call a mate and have some fun while you're doing it! If you don't want to assemble your shed yourself, we provide professional shed assembly nationwide.
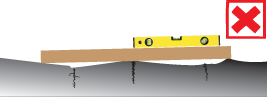
The site where you are going to assemble your shed needs to be dry, clear and flat/level. 'Flat' means no more than 1 degrees slope.The whole site surface needs to be stable, with no slopes, raised areas or dips in the ground. If your shed base is not flat and level it becomes difficult or impossible to fit the roof correctly and often doors will not open/close properly due to the walls being twisted out of shape by the uneven footing.
You can prepare a flat, level base for your shed by laying gravel, pavers, a concrete pad, or building foundations.



The tools generally required for kitset shed assembly. Note you will need to drill the holes for the screws that hold the shed together. This is because it is better to drill the holes once the shed is erected on your site than have them pre-drilled, so you get the best fit, allowing for any slight variations due to ground level etc.

If you don't want to assemble your shed yourself, we can provide professional shed installers nationwide. If you need them to prepare a flat, level base or build foundations as well, one of our installers can do a site visit for $95, advise you on what's required for your site and give you a detailed estimate for preparing your site and assembling your shed.
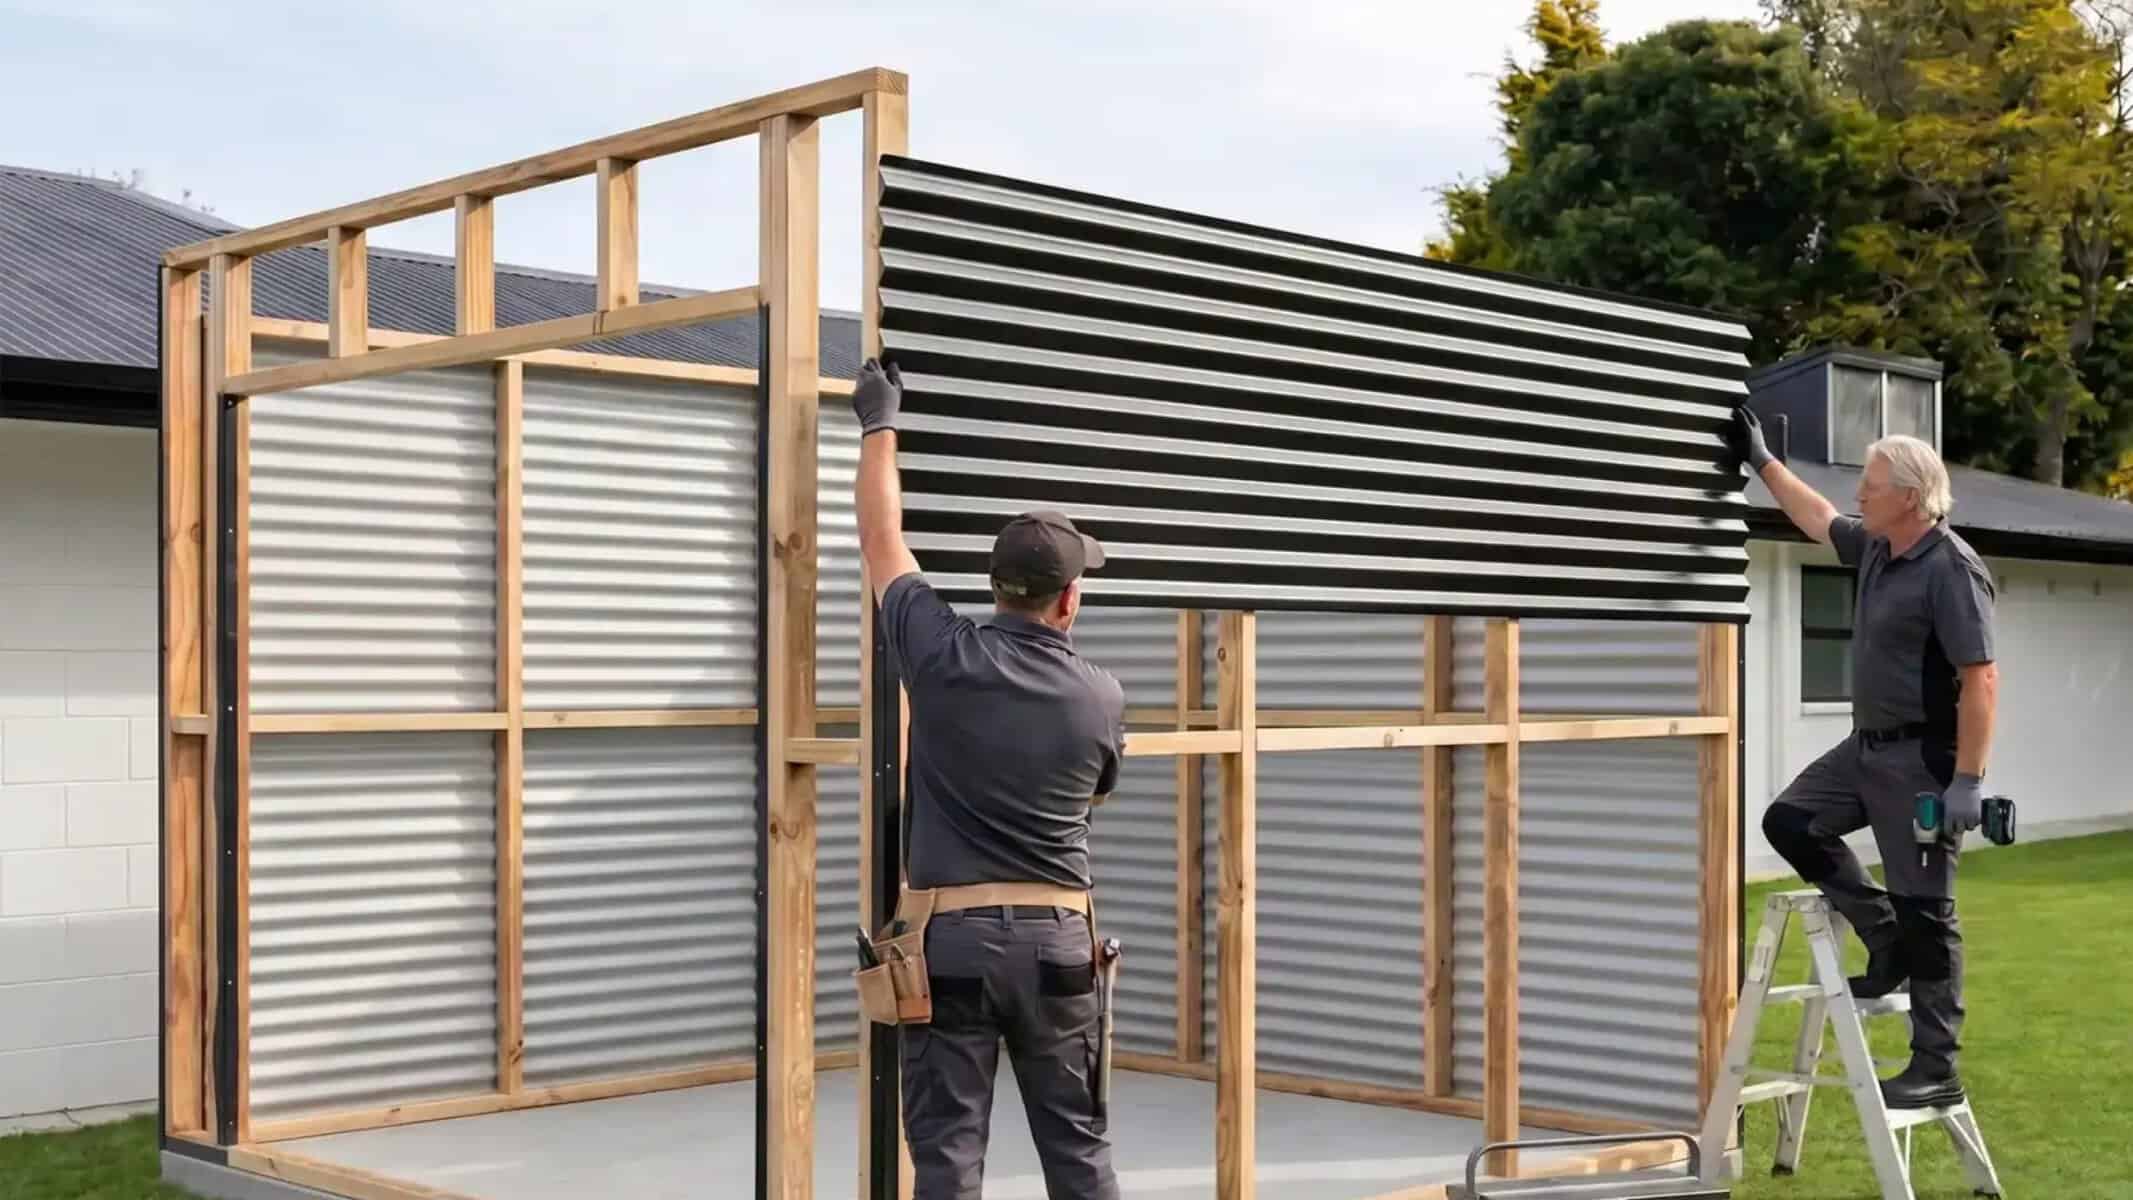
IMPORTANT: These are a SAMPLE of shed assembly instructions, the most accurate and up to date assembly instructions will come with your shed and you should refer to those. Any problems, call 0508 448 222 or email [email protected] for help.